Installing a trampoline on a slope requires assessing the degree of slope, digging trenches to create a level trampoline pit, constructing a retaining wall to support the upslope side, pouring concrete footings, and securing the trampoline frame. The key steps are:
- ✅ Measure slope degree to determine trampoline placement
- ✅ Dig trenches on the upslope side to flatten area
- ✅ Build retaining wall to support uphill trenches
- ✅ Pour concrete footings for trampoline legs
- ✅ Securely fasten trampoline frame per instructions
- ✅ Add safety pads, netting and ladder to finish
With proper site preparation and setup, you can safely enjoy a trampoline even on a yard with a significant slope. The rest of this article will provide more detail on the entire process. Let’s start by looking at how to assess the slope degree and choose the trampoline location.
Easy Steps To Install A Trampoline On The Slope
Step 1: Measuring the Slope Degree
📏 The first step in trampoline installation on any slope is to measure the degree of incline. This will determine how much earth you’ll need to move to create a level surface.
Here’s how to measure the slope angle using simple tools:
- Use a long, straight board and a 4-foot level.
- Place the board on the slope and lay the level on top across the board.
- Raise the lower end of the board until the level shows the board is flat.
- Measure the gap under the board at the lower end to get the slope height.
- Divide the height by the board length and multiply by 100 to calculate slope percentage.
For example, if the lower end is 4 inches below level over a 10 ft board, the slope is 4/120 x 100 = 3.3%.
Recommended Maximum Slope
📉 For safe trampoline use, the slope should not exceed 10%. Steeper slopes will require extensive digging and retaining walls, so find another site.
Ideally, keep the slope under 5% for easiest installation. Now let’s look at choosing the right trampoline location.
Step 2: Selecting Trampoline Site
🌄 Once you’ve measured the slope, pick a trampoline site that requires minimal earth moving. Other tips:
- Choose a relatively flat area if possible.
- Pick a location with stable soil for footing stability.
- Allow ample space around the trampoline for safety.
- Consider privacy and views when positioning the trampoline.
- Ensure no overhead wires, branches or obstacles.
🛑 Avoid positioning the trampoline near:
- Steep drop-offs which require guardrails.
- Areas that could flood.
- Locations where digging could disturb tree roots or irrigation lines.
With the site selected, now we can move on to preparing the trampoline pit.
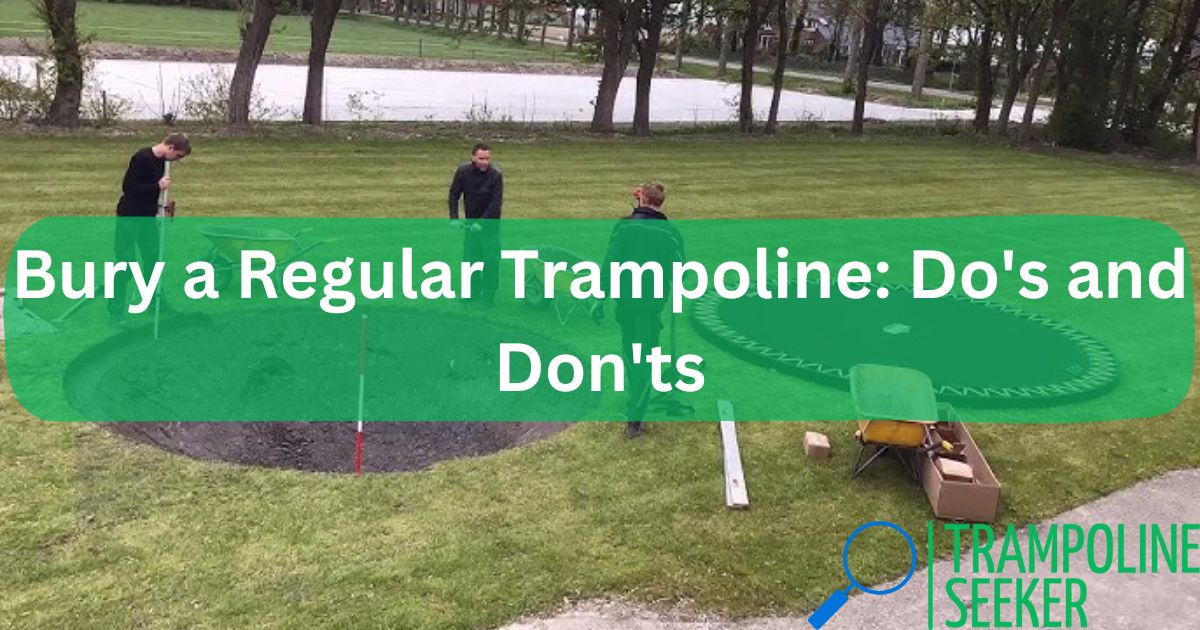
Step 3: Digging the Trampoline Pit
🕳️ To create a level trampoline surface on a slope, you’ll need to dig a pit on the uphill side. Here are the steps:
1. Mark Out Trampoline Location
- Use spray paint or stakes to outline trampoline position.
- Allow for 3 feet clearance around edges.
2. Dig Trenches for Leveling
- Dig trenches into the uphill legs to lower that side.
- Depth depends on slope degree.
- Remove displaced soil – you’ll use this later for backfilling.
3. Check for Level Surface
- Use a 2-foot level on the trampoline site to confirm it’s flat.
- Add or remove soil as needed to fine tune.
- Pack down the soil firmly when level.
The trampoline pit is now ready for the foundation. Let’s look at options for constructing the necessary retaining wall next.
Step 4: Building a Retaining Wall
🧱 On sloped trampoline installs, a retaining wall is needed to support the uphill trenches. Here are some ideal retaining wall choices:
Concrete Block
- Sturdy, long-lasting, and decorative option.
- Stack blocks using construction adhesive.
- Insert rebar for reinforcement.
Timber
- Use 4×4 posts with 2×6 boards for an easy DIY wall.
- Allow for drainage behind wall to prevent pressure.
- Stagger joints like brickwork for strength.
Landscape Blocks
- Interlocking blocks are quick and simple to build with.
- Allow small gaps between blocks for drainage.
- Follow manufacturer’s instructions for assembly.
The retaining wall will support the trampoline pit and allow installation of the trampoline frame. Next up – constructing the footer.
Step 5: Pouring Concrete Footers
🍧 The sloped trenches for the trampoline legs need strong concrete footers poured:
- Dig footer holes 2 feet deep and slightly wider than trampoline legs.
- Fill holes with 6 inches of gravel for drainage.
- Use cardboard tubes or sonotubes to prevent soil contact.
- Mix and pour concrete into tubes.
- Insert J-bolts or anchors for attaching trampoline.
Let concrete fully cure before installing trampoline. Now we’re ready for the final step – assembling the trampoline!
Step 6: Installing the Trampoline
🧩 After all the site work is complete, it’s time to put together the trampoline. Safety tips:
- Carefully follow manufacturer’s assembly instructions.
- Securely screw frame to anchors in concrete footers.
- Ensure frame is level and square.
- Add heavy duty extension springs for slopes over 5%.
- Attach protective padding prior to use.
- Regularly check anchors and maintenance.
With proper preparation and setup, your sloped yard shouldn’t stop your family from bouncing safely. For any questions on installing trampolines on a slope, consult a landscape contractor. Enjoy your new trampoline!
Summary
👆 Installing a trampoline on a slope is challenging but very feasible with careful planning and the right techniques. The key steps covered in this article include:
- Measuring slope angle and selecting site
- Digging uphill trenches to create level “pit”
- Building retaining wall to support trenches
- Pouring concrete footers with anchors
- Assembling trampoline securely to anchors
With the right safety gear like pads and nets, a sloped trampoline can provide hours of bouncy fun! Let me know in the comments if you have any other tips for trampoline installation on slopes. Enjoy your bouncing!
Articles You May Like to Read:


