Winterizing your trampoline is crucial for protecting it from harsh weather damage and extending its lifespan. 🏡 The cold, snow, ice, and wind can really do a number on the mat, springs, frame and enclosure of your trampoline if you don’t properly store it for the winter months. ☃️
The good news is that winterizing a trampoline isn’t overly complicated – it just takes some time and elbow grease! 💪 In a nutshell, you’ll need to disassemble certain parts, thoroughly clean the trampoline, cover the frame and mat, and store away any detachable pieces.
I’ll walk you through the entire winterizing process step-by-step in this blog post so you can keep your trampoline in tip-top shape until spring rolls around again! 🌸 Let’s get started.
Step By Step Guide to Winterize a Trampoline
step 1: Assess the Trampoline
🧐 The first step is to visually assess the current state of your trampoline. Look for any signs of damage, rust or worn parts that may need replacing before next season.
Inspect the spring condition – if they are stretched out or detached, they will need to be fixed or replaced. Check the trampoline legs and frame for rust spots or cracks. Make sure the frame padding is still in good shape and firmly attached.
Examine the mat closely for deteriorated stitching, punctures, tears or UV damage. If anything looks worn or on its last leg, make a note to replace those parts in the spring. It’s much easier to swap components out before reassembling the trampoline after winter.
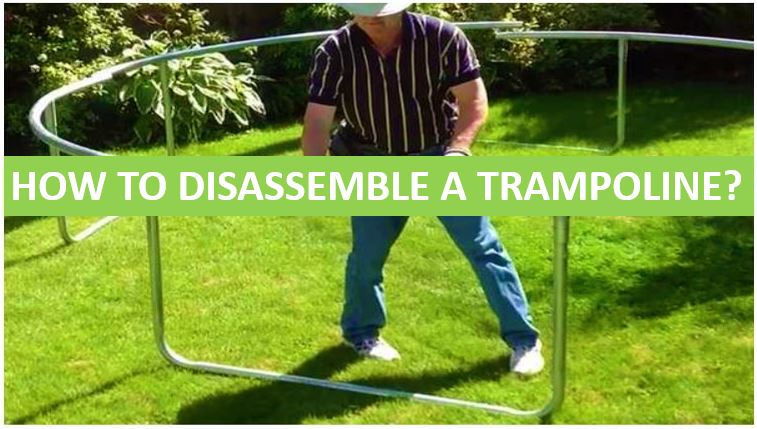
Step 2: Disassemble the Net Enclosure
Now it’s time to remove and disassemble the net enclosure. 🧩 The net, poles, ties and other parts should be detached and stored away for safekeeping.
Start by locating the zippered entrance and unzipping it completely. Next, detach each pole from the trampoline by removing any bolts or twisting them out of their sockets.
Carefully unthread the net from each pole as you work around the trampoline. Try not to let the net drag on the ground. Also remove any strings, ties or hooks that attach the net to the mat or frame.
Once the net is fully detached, fold or roll it up neatly to prevent damage. Lay all the net pieces and poles in a dry storage spot like the garage or shed where they won’t be affected by the elements.
Step 3: Take Off the Weather Cover
If your trampoline currently has a weather cover stretched over the frame and mat, this will need to be removed as well. Start unzipping the cover at each pole until it can be completely pulled off.
Take care not to let the cover rip or snag during removal. Inspect it thoroughly and patch up any small tears or holes you find so it can be reused next winter season.
Fold the cover neatly and keep it with the other detached trampoline parts in storage. Having a quality weather cover makes re-winterizing much smoother year after year.
Step 4: Remove the Frame Padding
The padded foam that covers the trampoline frame needs to be taken off and stored indoors too. This padding is meant to protect jumpers from coming into contact with the hard steel frame.
Carefully detach each section of padding by unfastening the ties or unsnapping the buttons. You may need to use scissors to cut away stubborn ties if they won’t come undone.
As you remove the foam pieces, inspect them for any cracks, deterioration or missing sections. Set aside any damaged padding that needs replacement.
Once all padding is removed, give the steel frame a close look. Scrub off any dirt or grime buildup using a scrub brush, warm water and dish soap. Rinse thoroughly. Wipe down with a dry towel to prevent rust formation.
Allow the frame to completely air dry before moving to the next steps. Store the removed padding together in a clean, dry spot.
Step 5: Detach the Springs
Now for the most tedious part – temporarily detaching all the springs from the trampoline frame. This relieves tension on the mat and prevents sagging. You’ll need to remove both the crisscrossing springs across the mat, as well as the vertical springs around the frame.
Start on one side and systematically detach each spring using spring pulling pliers. Be sure to detatch both ends and take care not to overstretch the springs in the process. Keep a tally of how many springs you remove in case you need help reassembling later.
Work carefully around the entire trampoline detaching springs until they are all removed. Pay attention to how the springs are oriented so reinstallation is easier. Place the unhooked springs in a bucket or bin for safekeeping.
Step 6: Roll Up the Mat
Now the trampoline mat can be rolled up and stored away from the elements. Make sure the mat is completely dry before rolling it up. Start from one end and gently but tightly roll up the mat.
Have someone assist you in avoiding creases or tears as you roll. Secure the rolled up mat with straps or heavy duty twine in a few places. Do not fold the mat, as this can damage the jumping surface.
Before storage, check the underside of the mat for any small rips or holes that may need patching before reinstalling in spring. Place the securely rolled mat somewhere dry – standing it upright leaning against a wall works well.
Step 7: Cover the Frame
With all the trampoline parts disassembled, you can now cover the exposed frame to protect it from winter weather. Use a water-resistant trampoline frame cover or durable tarp to wrap up the entire frame.
Secure the cover well with strong rope or bungee cords. Try to minimize contact between the cover and frame to reduce abrasion risk. Make sure the cover is long enough to reach the ground on all sides.
For added protection, place concrete paver stones or cinder blocks on top of the cover on the frame legs. This anchors the cover and prevents wind damage. Just don’t directly place heavy objects on the frame itself.
Step 8: Drain and Store the Safety Pads
Any water left sitting in the trampoline’s safety pads and pockets during winter can expand when frozen and cause cracking. Prevent this by draining and storing the pads properly.
Detach the padded mat edge from the frame rings using pliers or a screwdriver. Prop up the pad vertically against a wall to allow all moisture to drain out. Leave upside down for at least 12 hours before storage.
Once fully drained, move the safety pads to a clean, dry storage spot. Keep them out of sunlight to prevent UV damage. Avoid folding or tightly rolling, as this can crease the foam.
Step 9: Disinfect the Entire Trampoline
While the trampoline is fully disassembled, it’s the perfect time to do a deep clean! This prevents mold, mildew and bacteria growth over winter.
Use a disinfectant cleaner formulated for outdoor use on all frame pieces, springs, mat, safety pads and enclosure parts. Bleach-based solutions work very well for thorough disinfection.
Let the disinfected parts dry completely before storing. This is a great time to scrub off any dirt, scuffs or stains for a like-new trampoline come spring! Just be sure to thoroughly rinse any residue.
Step 10: Remove Ladder and Other Accessories
Any additional accessories like ladders, basketball hoops, etc. should be removed and stored as well to extend their lifespan. Use care when removing basketball hoop pole foam – it can tear easily.
Make sure any anchor systems in the ground like T-brackets are stable and capped off. Remove and store the ladder in a dry spot if your trampoline has one. Inspect these accessories and set aside any in need of replacement.
Step 11: Store Detached Parts Properly
You did it – every piece of the trampoline is now disassembled for safe winter storage! ❄️ Make sure all parts are completely dry before storing. Place them somewhere out of direct rain, snow and sunlight.
I recommend storing the frame, mat, enclosure parts, pads, springs and accessories together in a garage or shed for convenience. Use sturdy shelving, bins and hooks to keep organized.
The coverings and mattress rolled up upright both take up significant floor space, so plan accordingly. Don’t stack other objects on top of stored trampoline parts to avoid damage.
Step 12: Reassemble in Spring
When the worst of winter has passed and warmer weather arrives, it will be time to reassemble your trampoline! 😎 Carefully unveil each stored piece and inspect for any new damage before reinstalling.
Reassembly is essentially the reverse of disassembly. Just take care to evenly reattach springs and orient parts correctly. Refer to the manufacturer instructions if needed.
By properly winterizing your trampoline every year, you can enjoy it safely for many seasons to come. Let me know if you have any other trampoline winter prep questions!
Recommended Winterizing Products
Here are some of my top recommended products for safely and easily winterizing your trampoline:
Spring Pulling Pliers
Essential for removing the hundreds of springs on any trampoline quickly and efficiently without stretching them out. These 30″ pliers have a comfort grip handle and pointed hook ends designed specifically for detaching trampoline springs. The large jaw opening handles a wide range of spring sizes.
Trampoline Enclosure Storage Loops
These adjustable straps make storing the net enclosure poles and pieces a cinch. They prevent the net from getting tangled, damaged, or dirty while in storage. Easy to install.
Trampoline Frame Cover
A must-have for keeping your trampoline frame protected from sun damage, corrosion, wind, snow, ice and more through harsh winters. Choose size based on your exact trampoline dimensions.
Gorilla Grip Trampoline Mat Repair Kit
Don’t let a single tear or hole in the mat ruin your whole trampoline! This handy patch kit includes 8 UV-resistant patches, glue and trimming tool to easily fix any mat damage over winter.
I hope these winterizing tips help you properly store your trampoline and keep it in excellent condition, no matter how harsh the winter weather gets. ❄️ Let me know if you have any other questions – I’m always happy to help out fellow trampoline owners! Stay warm!
Articles You May Like to Read: