I have always been a huge fan of WWE wrestling. From the theatrics to the athleticism, it captures my imagination. I loved mimicking all the moves and holds in my living room, much to my parents’ chagrin. As I got older, I dreamed of having my own backyard wrestling ring to live out my WWE fantasies. Well, that childhood dream has finally come true – I built my very own DIY trampoline wrestling ring!
In this blog, I will chronicle my adventures in backyard WWE wrestling ring construction. You’ll learn all about the planning, materials, building process, customization ideas, maintenance tips, and more. By the end, you too will have the inside scoop on how to transform a regular old trampoline into a bonafide high-flying wrestling ring extravaganza! So lace up those boots and let’s get ready to rumble!
The Right Trampoline for a Wrestling Ring
The foundation of any solid backyard wrestling ring is the trampoline itself. With so many shapes, sizes and features to consider, choosing the right trampoline model is critical.
Types of Trampolines
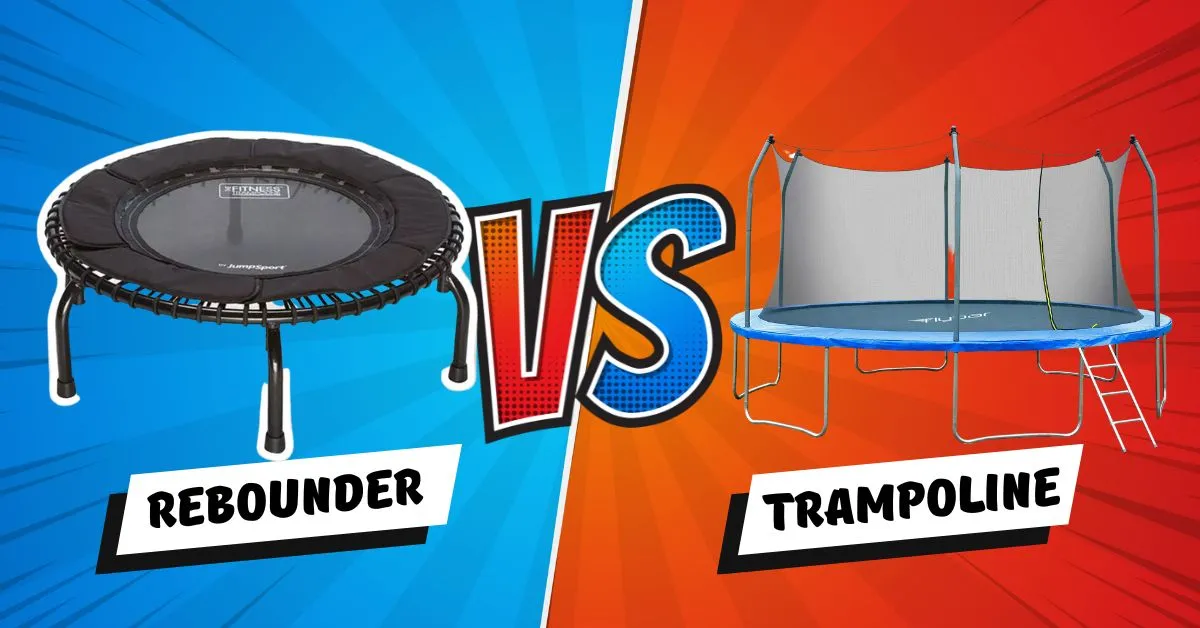
Round Trampolines – With springs evenly distributed for centralized bouncing, round trampolines easily keep you in the middle. But they don’t provide the same launch power as other shapes.
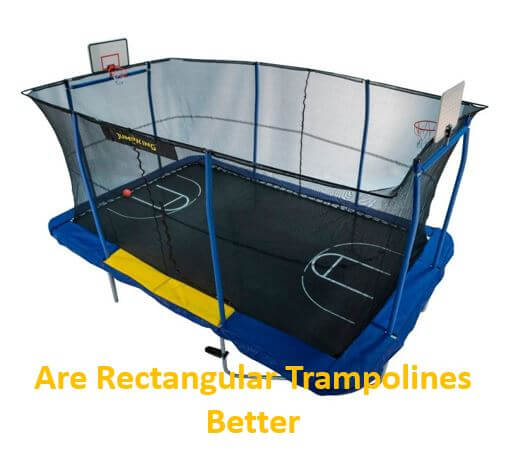
Rectangular Trampolines – Offering superior lift from varied tension springs, rectangular trampolines are preferred for flips and somersaults. Their shape also resembles real wrestling rings.
Square Trampolines – Blending round steadiness with rectangular bounce, square trampolines deliver decent air in compact footprints.
In-Ground Trampolines – Set flush into the ground for added safety, in-ground trampolines have restricted airflow and lift. Installation is complex and pricey too.
I chose a large rectangular trampoline as the base for my backyard wrestling ring build. The spacious surface area is similar to regulation wrestling rings, providing plenty of room to grapple. And the asymmetric spring configuration gives me enough launch power to practice dramatic flips, drops and takedowns.
Size, Safety Features and Accessories
When selecting your trampoline wrestling ring foundation, be sure to assess the:
- Available yard space for proper clearance
- Number of wrestlers using it simultaneously
- Overall weight limits for safety
- Inclusion of safety nets and ample padding
- Ladders for access and anchor kits for stability
With the ideal trampoline selected, it was time to gather the rest of the construction supplies for my homegrown WWE arena!
Building a Trampoline Wrestling Ring: Materials & Tools
Converting a trampoline into a wrestling ring takes the right combination of materials and tools. Here’s what I gathered for my backyard WWE build:
Materials:
- Non-stretch ropes
- 8 foot wooden poles or PVC pipes
- Hooks, screws, washers and nuts
- Plastic fasteners and shoelaces
- Staple gun
- Blue fabric
- Foam pads or pillows
Tools:
- Power drill
- Saw or pipe cutters
- Wrench
- Hammer
- Tape measure
- Level
With my trampoline set up and supplies assembled, it was time for the fun part – construction!
How to Build a Trampoline Wrestling Ring
Building your own trampoline wrestling ring is simple when you follow these steps:
Step 1: Preparing the Space
Select a Location – Designate an open area in your yard or basement with ample clearance for wrestling antics. Ensure adequate lighting and secure surroundings.
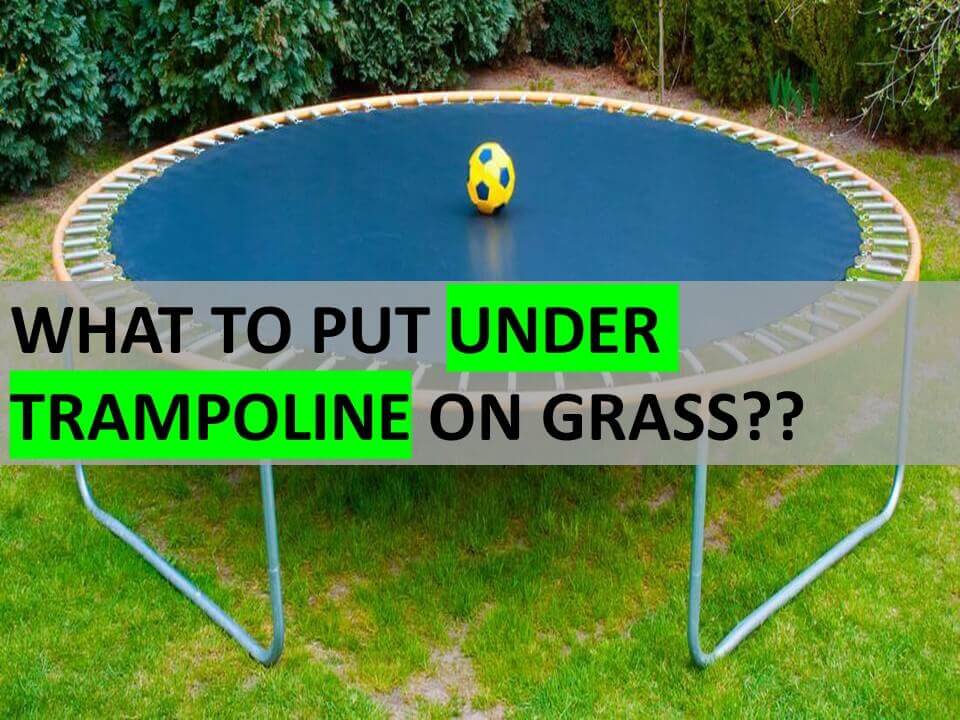
Prep the Surface – Remove debris from the install site and level the ground. Cushion it further by adding foam matting beneath the trampoline.
Measure & Mark Boundaries – Map out the wrestling ring footprint using markers or tape, indicating the trampoline position.
Step 2: Construct the Frame
For a sturdy base, use metal tubing joined at the corners with connectors or welding. Bolt the frame securely to the trampoline legs or anchor into the ground.
Add safety pads along the frame to prevent injuries.
Step 3: Attach Springs & Mat
Attach springs starting at 12, 6, 3 and 9 o’clock, pulling the mat edge taut at each point. Use a spring tool for easy installation and distribution of tension.
Ensure the mat is centered, level and free of wrinkles or sagging. Replace previous worn mats with fresh high-quality wrestling grade ones.
Step 4: Set Up the Poles & Ropes
Mark and drill three evenly spaced 1 inch holes into four 7-8 foot wooden poles or PVC pipes.
Position the holes facing inward and use hooks, eye bolts or screws to attach the anchor points. Further secure poles with stakes and connect to the trampoline frame if possible.
Use non-stretch ropes, bands or hoses, threading between the poles to create the boundaries. Keep tension tight but with a little give to avoid injuries.
Step 5: Add Padding
Protect the poles and ropes using foam covers secured with rope or shoelaces. Repurpose old mattress toppers or purchase vinyl covers for a professional look.
For an authentic wrestling aura, staple cloth skirting around the trampoline periphery.
Step 6: Customization & Accessories
Personalize your DIY wrestling ring with fun enhancements like:
- Building a ramp for dramatic entrances
- Adding custom logos, decals and lighting
- Crafting branded corner pads
- Incorporating sound effects and music
Step 7: Safety Checks & Maintenance
Consistent inspections and care preserve the integrity of your homegrown wrestling ring while preventing accidents.
- Check fittings monthly and lubricate springs
- Replace damaged pads, mats, ropes or poles
- Ensure frames, boundaries and poles are sturdily anchored
- Cover during harsh weather and store indoors if possible
- Enforce safety rules and supervise all matches
Thrilling Finale: Time to Wrestle!
Once construction was complete, I couldn’t wait to test out my new backyard luchador ring! Climbing the ropes and poles is a cinch, providing easy access even for diving moves. The padded corners and taught ropes create realistic boundaries that still have a touch of give to prevent injuries.
All the neighborhood kids are captivated by the arena, already placing dibs on upcoming imaginary title matches. And I’ve got a waiting list of willing opponents just begging me to put them in a figure four leg lock submission!
So if a homemade wrestling ring is on your project bucket list too, I hope my DIY adventures have demonstrated that with the right planning and materials, you can easily create your own Wrestlemania right at home. Now get out there and start body slamming!
FAQs About Building a Trampoline Wrestling Ring
Q1. What materials do you need to make a trampoline wrestling ring?
You’ll need a trampoline frame and mat, non-stretch ropes/hose/elastics, poles (wood or PVC pipes), screws, bolts, hooks and eye rings for attaching ropes. Padding, foam covers, cloth skirting, staple gun and spring tool are also useful for extra safety and customization.
Q2. Can I customize my trampoline wrestling ring?
Absolutely! Build an entrance ramp, add logos, decals, lights, sounds or music. Create branded corner pads and ropes. Just be sure modifications don’t interfere with safety and structural stability.
Q3. What precautions should I take with a trampoline wrestling ring?
Carefully secure padded poles, install taut ropes with some give, anchor the frame properly and consistently inspect for damage. Enforce rules that prohibit overly risky moves and ensure matches are supervised by a referee. Keep first aid supplies nearby.
Q4. How do I take care of a trampoline wrestling ring?
Frequently check and lubricate springs, replace worn mats/padding/ropes, secure loose fittings, cover the ring during harsh weather and consider indoor storage options. Thoroughly inspect prior to each use for any issues.
Q5. How can I safely use a trampoline wrestling ring?
Limit occupancy to one wrestler at a time, prohibit overly risky aerial moves, implement padding anywhere needed, enforce rules through a referee and ensure safe entry/exit procedures. Emphasize proper technique and fair athletic play.
Articles You May Like to Read: