I’ve often pondered building my own custom trampoline frame to get the exact specifications I want. Quality trampolines can get quite pricey, so being able to construct one yourself is an attractive proposition if you have the skills, time and materials. In this blog post, I’ll share my thoughts and research on considerations for building your own trampoline frame from scratch.
Why Build Your Own Trampoline?

Customization is the biggest motivator for me. Off-the-shelf trampolines force you to choose from a limited range of sizes and component quality. Building it yourself allows you to:
- Choose any dimensions you want for the mat and frame
- Select heavy-duty materials that will last
- Experiment with different spring configurations
- Create customized padding and edge protection
You can construct something over-engineered to handle hardcore backyard antics, or tweak elements like spring tension to get the exact rebound characterists you prefer.
The ability to replace components over time rather than buying whole new trampolines is also compelling from a sustainability perspective too.
Key Design Considerations
Constructing a safe, durable and high performance DIY trampoline takes careful planning and structural design. Here are some of the main elements to think through:
Frame Materials
The frame needs to be strong enough to handle repetitive bouncing loads without buckling or deforming over time. Using weather-resistant materials can also increase lifespan. Some options I’ve researched:
- Used utility poles – Sturdy and weatherproof, though limited dimensions may constrain size
- Steel I-beams – Very rigid though heavy; welding provides precision
- Heavy duty pipe – Readily available, can be cut & welded to custom lengths
Frame Joinery
Joining frame members securely is critical, as loads will stress connections:
- Welding – Most robust method, allows total customization
- Bolts/pins – Allows takedown/portability but added hardware
- Notches / lap joints – Traditional log joinery, no added hardware
I’d likely use a combination of notches and steel pins for strength, simplicity and some takedown capability.
Mounting Spring Hardware
Springs connect the jump mat to the frame via hanging loops. Interface hardware needs to align precisely:
- Eye bolts – Allow adjustment, though frames risk stripping over time
- Drilled/welded rings – Permanent but avoids frame perforations
- Zig-zag wire – Gives flexibility for any spring pattern
I’m leaning towards a mix of welded rings and zig-zag wire to get best of both approaches.
Spring Configuration
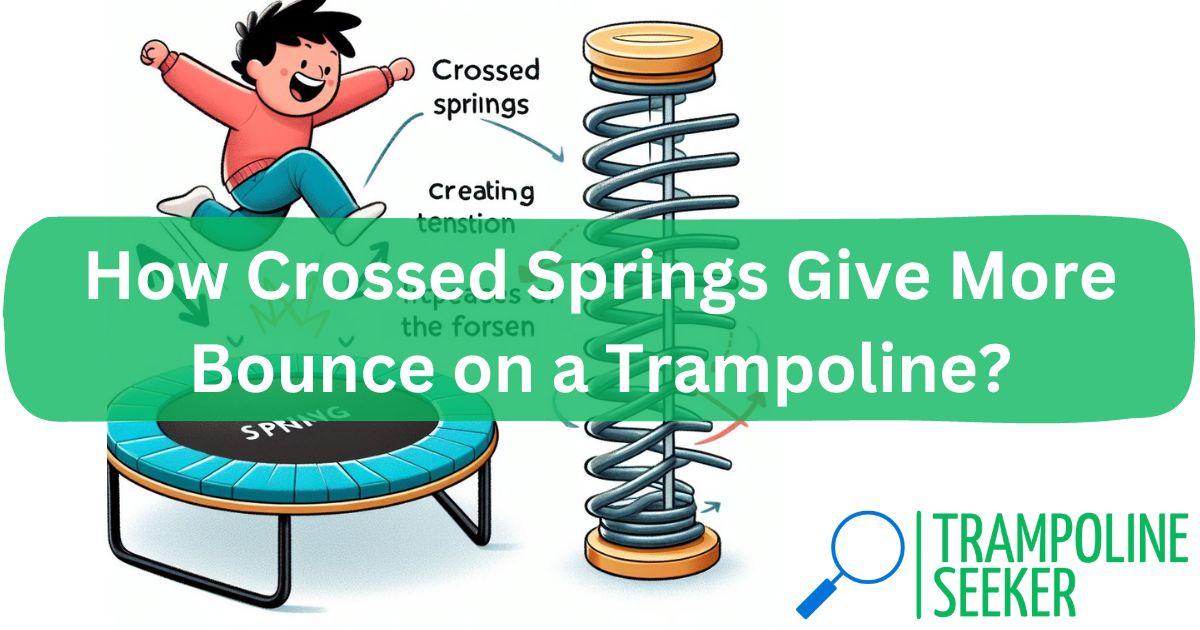
The number, size, tension and position of springs control rebound characteristics. More considerations:
- Number – More springs provide a smoother, more consistent bounce
- Length/tension – Longer springs reduce bounce firmness, limit bottoming out
- Cord extensions – Loops between mat and springs increase throw height
- Oversize frame – Allows room to experiment with spring setups
An oversize frame with capacity for lots of extended springs intrigues me.
Padding and Edge Protection
Well-designed padding reduces injury risks from falls off the trampoline:
- Foam – Cushions impacts but can degrade over time
- Industrial padding – Firmer and more weather resistant
- Angled end decks – Redirect energy rather than abrupt stops
- Suspended end pads – Absorb energy via springs/bungees
I envision a layered foam & industrial padding approach, potentially with angled end decks.
A Step-By-Step Guide

With the above considerations in mind, constructing a DIY trampoline would follow a process like this:
1. Design and Size the Frame
- Choose mat size based on space available and needs
- Add margin to mat dimensions for spring capacity
- Calculate frame dimensions to support mat size
- Select frame materials with adequate strength
2. Assemble and Fasten the Frame
- Cut pipes/beams to length or weld custom frame
- Create notches, steps, hardware mounts as needed
- Bolt/weld/pin all frame connections tightly
3. Add Spring Mounting Hardware
- Weld or bolt spring hanger rings/plates at precise spacing
- Install zig-zag wire along inside to augment rings
4. Prepare Ground and Set Frame
- Dig holes for pole mounting, add gravel drainage
- Tamp crushed rock tightly around poles for stability
- Use laser level to ensure frame rails are perfectly horizontal
5. Add Springs and Mat
- Install springs with care for consistent tensioning
- Attach mat to springs via loops sewn along edges
- Confirm adequate clearance between mat and frame
6. Install Padding and Edge Protection
- Wrap horizontal frame rails with weatherproof foam
- Construct layered foam side pads, potentially angled
- Test for safe energy absorption before bouncing
Key Learnings and Best Practices
Having researched and pondered this project extensively, here is a summary of key learnings regarding DIY trampolines:
| Do: | Don’t: |
|
|
Following these best practices will result in a long-lasting, high performance backyard trampoline customized exactly to your needs and bouncing style.
Final Thoughts
While building your own trampoline requires some investment of effort up front, the rewards can be substantial for those with time and DIY capability. Preserving key structural elements like rigidity and precise hardware alignment is paramount. But applying care here allows immense flexibility for customization which off-the-shelf solutions will never match.
Start by focusing on framework and spring fundamentals. Padding and accessories can always be tweaked and upgraded down the road. I hope these insights provide a helpful starting point for anyone considering constructing their own custom trampoline! Let me know if you have any other questions arise during your planning or build process.
Other Related Blogs:
- Old Trampoline Ideas
- How to Fix Trampoline Net?
- How to Fix/Replace a Trampoline Zipper?
- Partial Spring Replacement on Rectangular Trampoline
- How To Install A Mat for a New Trampoline?
- Are Trampoline Nets Universal?
- How to Put Up Trampoline Net?
- Can I Upgrade the Springs and Mat on a Cheaper Trampoline?
- How to Find the Right Size Spring Pad?
- How to Remove Rust from Trampoline Springs?
Frequently Asked Questions
What size mat should I use?
For backyard use, a common mat size is 7 x 14 ft (84 sq ft). This can comfortably fit 2 jumpers. Go larger if you plan for lots of users. Standard advice is 50-70 sq ft per person.
Is building a frame from wood safe enough?
With careful construction using thick beams, properly secured joints and adequatemaintenance, wood can potentially work. But metal frames will always be stronger and last longer.
What if I want to take my trampoline down annually?
Using joinery techniques like lap joints and steel pin connections allow full disassembly. Just be meticulous about precise re-assembly each time to maintain a safe frame with no movement.
What is the ideal frame height off the ground?
2-4 feet is typical. Lower heights increase falling risk but limit ascent. Higher allows more bounce but requires more advanced skill. Adjust based on your comfort level. Pit frames are also safer.
Should I buy or make padded edge protection?
Quality aftermarket padding can save effort. But DIY allows matching any dimensions, using weatherproof layers, and even springs or bungees for better impact absorption.
I hope this detailed DIY trampoline guide offers useful foundation for anyone interested in designing and fabricating their own customized backyard bouncing solution! Please let me know if any other questions come up.
Articles You May Like to Read:


